
When we first embarked on the journey of model building, we found ourselves navigating a world brimming with possibilities and challenges. It’s a captivating process, one that blends creativity with precision and offers a unique sense of accomplishment.
In this article, we aim to share our collective experience and insights to help fellow enthusiasts take their first steps into this fascinating domain. Our goal is to demystify the process, breaking it down into eight beginner-friendly steps that make model building accessible and enjoyable.
Together, we will explore each stage, from gathering essential tools and materials to mastering basic techniques and adding those final touches that bring our creations to life. Whether we are assembling a scale model of a historical landmark or constructing a miniature vehicle, the sense of community and shared passion in model building is what truly makes this hobby rewarding.
Let’s dive in and start building!
Acquire essential tools and materials
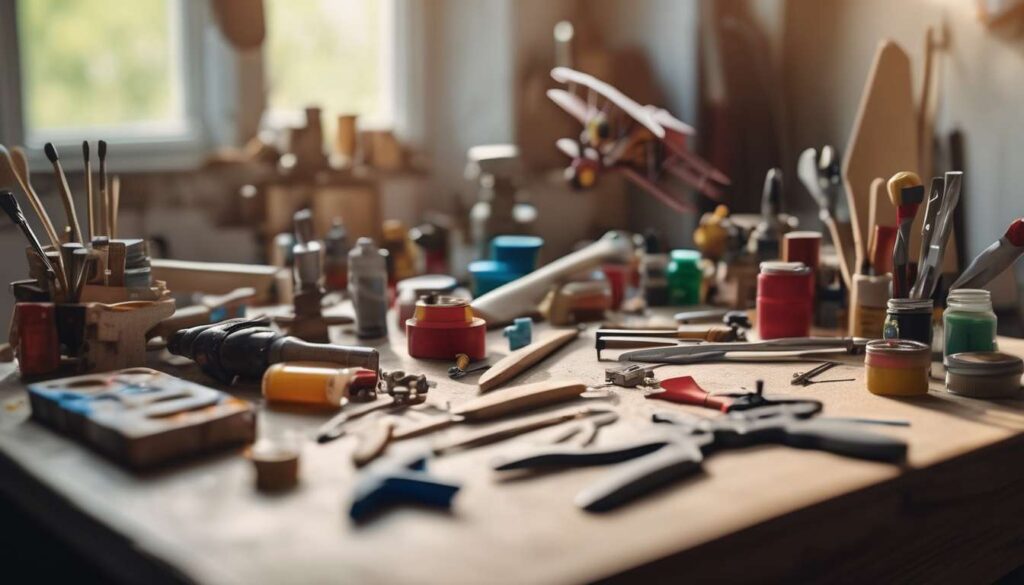
To begin our model-building journey, let’s gather the essential tools and materials that will ensure a smooth process.
We’ll need a solid set of tools, including:
- Hobby knife
- Sandpaper
- Glue
Each of these plays a crucial role in bringing our creation to life. These tools are the foundation upon which we can build with confidence and precision.
Next, we should familiarize ourselves with the techniques that will showcase our skills effectively.
- Carefully cutting and sanding parts ensures they fit together seamlessly.
- The right glue application guarantees strong bonds.
By mastering these basic techniques, we’re setting ourselves up for success as we progress.
In addition to tools and techniques, having the right materials is equally important.
- Quality model kits
- Paints
- Brushes
These will help us achieve the desired look and finish.
As we embark on this journey, let’s remember that our choice of tools and materials can significantly influence the outcome, transforming our vision into a tangible showcase of creativity.
Understand different types of models
Exploring the Various Types of Models
It’s crucial for us to explore the various types of models available, as each offers unique challenges and rewards for model builders. By understanding these models, we can better appreciate the tools and techniques required to bring them to life.
Types of Models:
-
Scale Models
- Typically showcase vehicles or aircraft.
- Require precision tools and techniques to capture intricate details.
-
Architectural Models
- Highlight buildings and structures.
- Use materials like foam board and laser cutters to create realistic representations.
-
Dioramas
- Provide a dynamic way to showcase scenes.
- Blend figures and landscapes in a small-scale environment.
Each type of model has its own set of challenges, encouraging us to develop a diverse skill set. Understanding these models allows us to choose the right tools and techniques, guiding our journey in model building.
Choosing the Right Model
As we explore these types, we’ll gain insights into which models align with our interests and skills. This understanding helps us to better navigate the world of model building and enhances our appreciation for the craft.
Choose your first model project
Selecting our first model project is an exciting step that sets the stage for our model-building journey. It’s essential to choose a project that matches our skill level and interests, as this will motivate us to learn and showcase new skills.
Start Simple:
- Choose a model that doesn’t require advanced tools or techniques.
- Focus on mastering the basics and gradually build confidence.
Consider Your Interests:
- Are you drawn to classic cars, iconic buildings, or historical airplanes?
- Select a project that inspires you to make the process enjoyable and rewarding.
Practical Considerations:
- Ensure the chosen model includes clear instructions.
- Make sure it is readily available to avoid unnecessary hurdles.
Benefits:
By selecting an appropriate project, we’ll develop a better understanding of the tools and techniques we’ll use. By the end, we’ll have a completed model to proudly showcase, reflecting our creativity and newfound skills.
Set up a dedicated workspace
Creating a Dedicated Workspace
Establishing a dedicated workspace is crucial for maintaining an organized area where we can focus on building our model without distractions. By setting up a specific spot for our model-building activities, we can keep our tools and materials handy, making it easier to find what we need when we dive into our project.
Choosing the Right Spot
- Designate a well-lit table or desk.
- Ensure there is enough room to spread out materials and tools efficiently.
Organizing Tools and Materials
To maximize efficiency:
- Arrange tools according to their use, allowing quick access during the project.
- Utilize a pegboard or small bins to organize these tools, ensuring nothing goes missing.
Benefits of Organization
This setup not only saves time but also enhances our ability to learn and practice new techniques as we build.
Showcasing Achievements
- Include a designated showcase area alongside the workspace.
- Display completed models proudly, serving as motivation and a reminder of progress and achievements.
By following these steps, we can create an efficient and inspiring environment for model building.
Learn basic assembly techniques
Mastering Fundamental Assembly Techniques
Mastering a few fundamental assembly techniques is essential for laying a strong foundation in model building. Let’s start by familiarizing ourselves with the basic tools and techniques needed to bring our projects to life.
Essential Tools
- Hobby knife
- Sandpaper or a sanding stick
- Plastic cement or glue
These tools will help us trim, smooth, and secure parts together effectively.
Assembly Techniques
-
Cutting Parts:
- Begin by carefully cutting parts from the sprue.
- Use a hobby knife to remove excess plastic.
-
Sanding:
- Sand any rough edges to achieve a seamless fit.
-
Gluing:
- Apply plastic cement sparingly to avoid messy finishes.
- Allow each section to dry thoroughly before moving on to the next.
Advancing Your Skills
As we advance, these skills will showcase our growing expertise. By mastering these foundational assembly techniques, we’re setting ourselves up for success in creating increasingly intricate models.
Let’s take our time and enjoy this rewarding process!
Practice painting and detailing skills
Now that we’ve mastered the basics of assembly, let’s dive into painting and detailing to bring our models to life with vibrant colors and intricate designs.
Essential Tools:
- Fine brushes
- Airbrushes
- A variety of paints
These tools will help us apply color with precision and achieve the desired effects.
Techniques to Understand:
- Dry Brushing: Used for highlighting raised areas.
- Washing: Enhances recesses and adds depth.
As we practice, we’ll develop our skills in layering colors and creating realistic textures. This stage is where we can truly showcase our creativity, making each model unique.
Tips for Success:
- Don’t rush; patience is key.
- Experiment with different paint brands and types.
- Pay attention to how each behaves on various surfaces.
Finally, detailing adds the finishing touches. Tiny decals, weathering techniques, and even small accessories can transform a model from simple to stunning.
With practice, our models will reflect our growing expertise and artistry.
Seek guidance from experienced model builders
Connecting with experienced model builders can greatly enhance our skills and provide valuable insights into advanced techniques. By reaching out to seasoned enthusiasts, we open ourselves to a wealth of knowledge that can guide us in selecting the right tools and mastering intricate techniques. They’ve been through the trials and errors we’re just beginning to encounter and can offer advice that saves us both time and frustration.
Let’s not hesitate to join local clubs or online forums where experienced builders share their expertise. These communities are treasure troves of information and often feature:
- Tutorials
- Discussions
- Showcases of completed work
We can learn which tools are essential for different projects and discover techniques that might not be covered in basic guides or instructions.
Engaging with these experts allows us to ask questions and receive personalized feedback. This guidance is invaluable as we strive to improve and develop our own unique style in the model building world.
Showcase your completed masterpiece
Once we’ve completed our model, let’s proudly display it to share our hard work and creativity with others. Showcasing our masterpiece is not just about presentation; it’s an opportunity to reflect on the tools and techniques we used. By doing so, we can gain valuable feedback and inspire fellow enthusiasts.
We might choose a prominent spot at home or participate in a local model-building exhibition. Sharing our process, from selecting the right tools to applying intricate techniques, can captivate and educate viewers.
To effectively showcase our model, we should consider the lighting and background:
- Proper lighting highlights details.
- A neutral background keeps the focus on our creation.
Photographing our model is another excellent way to share it online. When posting:
- Include detailed descriptions about the techniques we used.
- Engage with a community of model builders online or in-person.
Engaging with the community can enrich our experience, offering us new insights and inspiration for future projects. Let’s celebrate our achievements!
What are some common mistakes beginners make when building models for the first time?
When building models for the first time, we often make common mistakes. These errors can include:
- Not reading instructions thoroughly
- Rushing through the process
- Missing key parts
- Not using the right tools
To create successful models and enjoy the building process, it is essential to:
- Take our time.
- Follow instructions carefully.
- Double-check our work.
- Ensure we have all the necessary components before starting.
By avoiding these mistakes, we can improve our model-building experience significantly.
How do I maintain and store my completed models to ensure their longevity?
To maintain and store completed models for longevity, consider the following practices:
-
Cleaning and Dust Prevention
- Regularly clean the models to prevent dust buildup.
- Use soft brushes or microfiber cloths for gentle dusting.
-
Protection from Environmental Factors
- Keep models away from direct sunlight to prevent fading and material degradation.
- Avoid exposing them to extreme temperatures, which can cause warping or cracking.
-
Proper Storage
- Store models in a secure place to prevent accidental breakage.
- Utilize display cases or shelves to protect them from dust and potential mishandling.
-
Regular Inspection and Maintenance
- Regularly inspect the models for any signs of damage or wear.
- Continue dusting them to ensure they remain in prime condition.
By following these steps, you can help ensure that your models remain in excellent condition for years to come.
Are there any online communities or forums where model builders can share tips and advice?
Yes, there are several online communities and forums where model builders can share tips and advice. These platforms are great for connecting with fellow enthusiasts, learning new techniques, and seeking help with any challenges you may encounter.
We recommend exploring the following websites:
- Reddit’s r/modelmakers
- Scalemates
- ARC Forums
Engage with a supportive community that shares your passion for model building. Happy modeling!
Conclusion
Congratulations on completing the 8 beginner-friendly steps for model building! You’re well on your way to becoming a skilled model builder.
Remember:
- Practice makes perfect, so don’t be discouraged by any initial challenges.
- With dedication and guidance, you’ll soon have a collection of impressive model masterpieces to showcase proudly.
Keep in mind:
- Keep honing your skills.
- Explore new techniques.
- Enjoy the creative journey ahead.
Happy modeling!